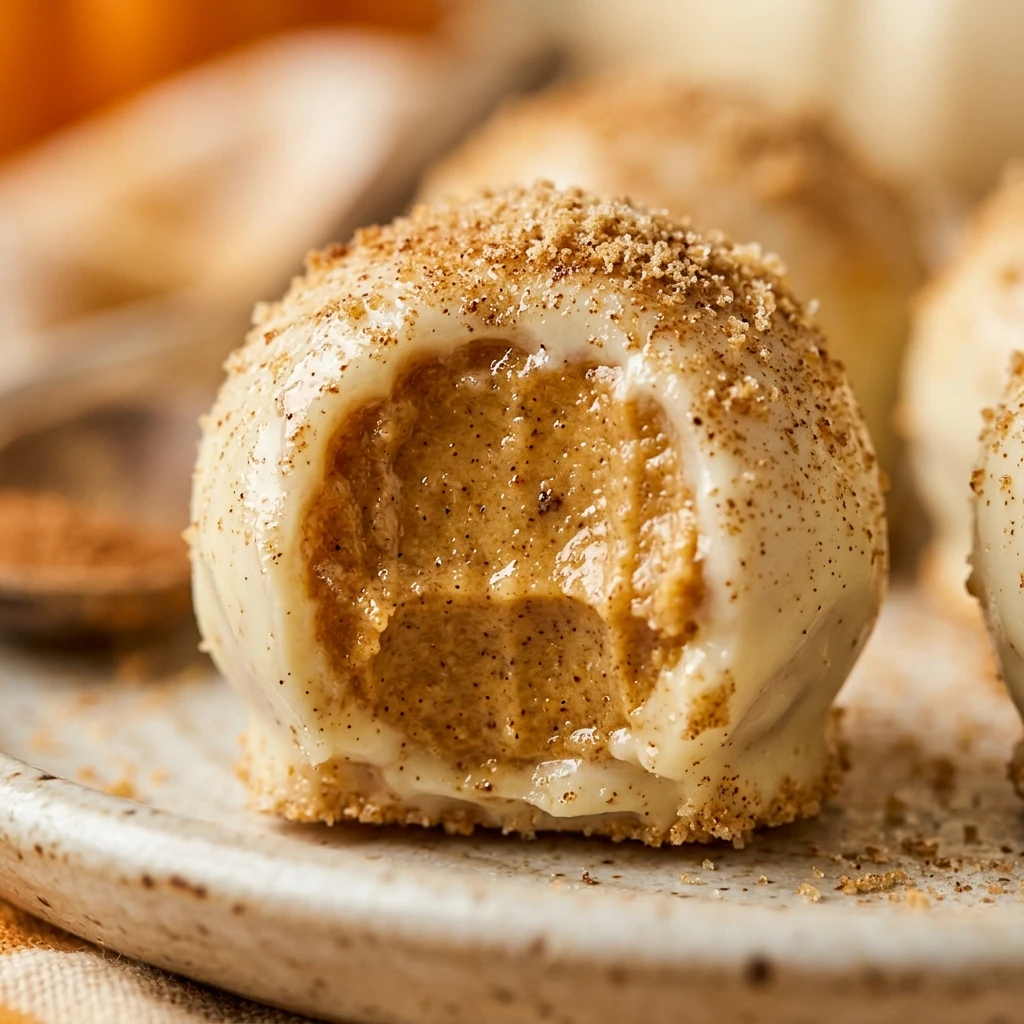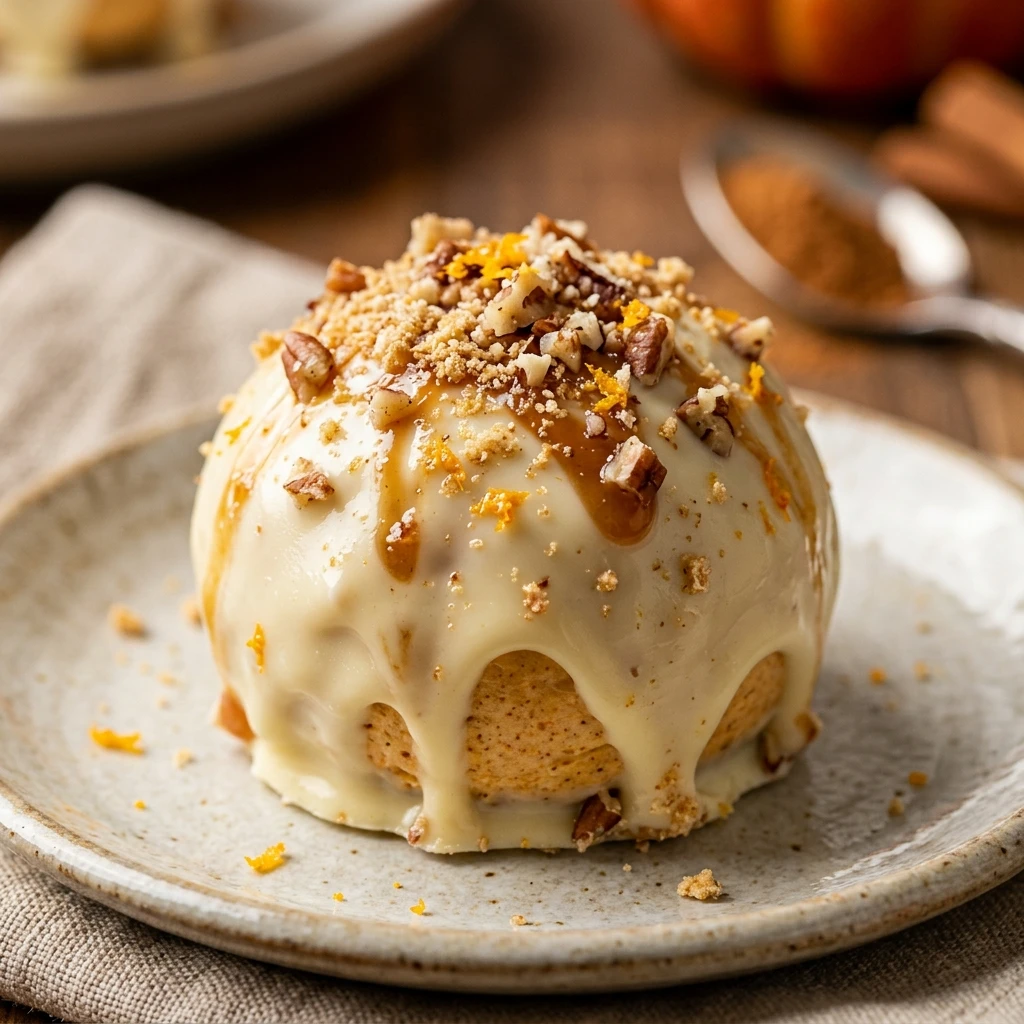
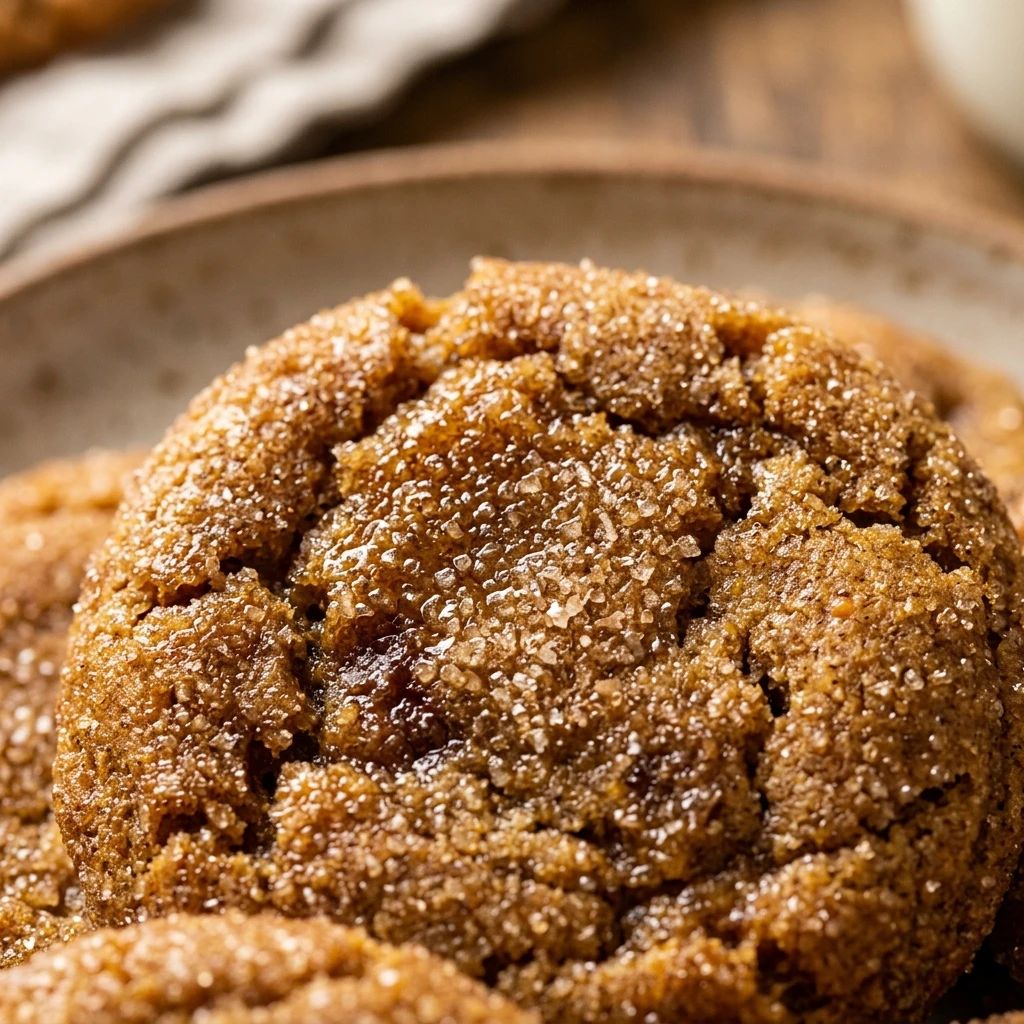

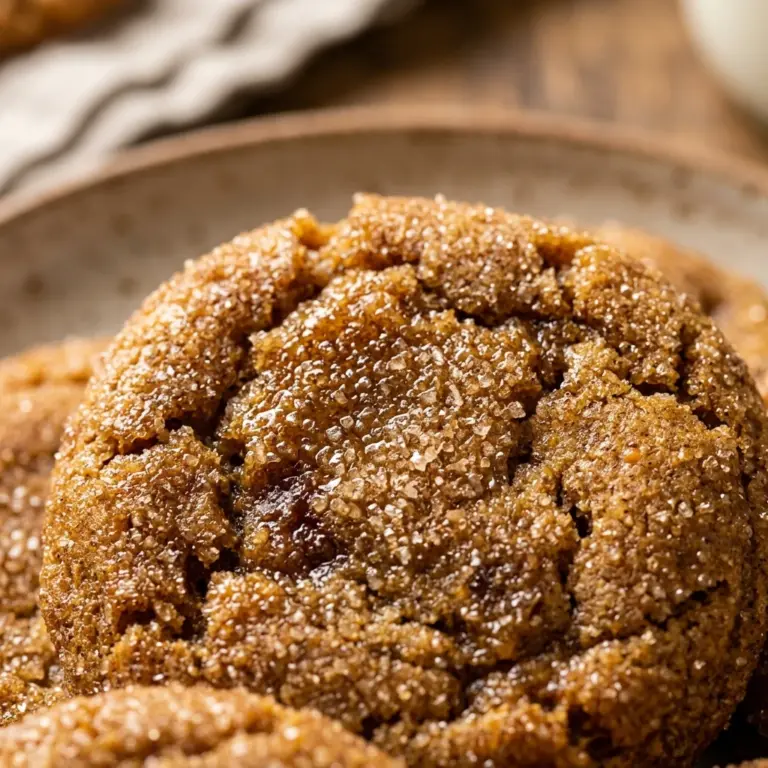
The arrival of fall brings a craving for cozy flavors, and nothing captures the essence of the season quite like these Brown Butter Pumpkin Snickerdoodle Cookies. This recipe elevates the classic snickerdoodle by incorporating the rich, nutty aroma of browned butter and the earthy sweetness of real pumpkin. The result is a cookie that is incredibly soft, perfectly chewy, and bursting with warm spices.
Whether you are hosting a festive gathering or simply want a treat to enjoy with a warm cup of cider, these cookies are a guaranteed hit. The signature cinnamon-sugar coating provides a delicate crunch that gives way to a melt-in-your-mouth interior. Let’s dive into how you can create these gourmet treats in your own kitchen.
Recipe Information
- Prep Time: 25 minutes
- Cook Time: 12 minutes
- Total Time: 37 minutes
- Servings: 24 cookies
- Difficulty Level: Medium
Nutrition Information
- Calories per serving: 165 kcal
- Protein: 2g
- Carbohydrates: 24g
- Fat: 8g
- Fiber: 1g
- Sugar: 14g
- Sodium: 125mg
Why Make This Brown Butter Pumpkin Snickerdoodle Cookies Recipe
This recipe is a game-changer because it addresses the common problem of pumpkin cookies being too “cakey.” By browning the butter, we remove excess water and add a deep, toasted flavor that complements the pumpkin perfectly. Additionally, blotting the pumpkin puree ensures the cookies maintain a dense, chewy texture rather than becoming muffin-like.
The combination of cream of tartar and pumpkin pie spice creates a nostalgic yet sophisticated profile. These cookies stay soft for days, making them excellent for gifting or meal-prepping your desserts for the week. If you love the warmth of traditional snickerdoodles but want a seasonal twist, this is the ultimate recipe for you.
How to Make Brown Butter Pumpkin Snickerdoodle Cookies Recipe
Creating these cookies is a multi-sensory experience, starting with the wonderful scent of butter browning on the stove and ending with the sight of golden, sugar-dusted treats. Follow these steps carefully to achieve the perfect balance of flavor and texture.
Ingredients
- 1 cup (226g) unsalted butter, softened
- 1/2 cup canned pumpkin puree (moisture removed)
- 1 cup granulated sugar
- 1/2 cup packed light brown sugar
- 1 large egg yolk, room temperature
- 1 1/2 teaspoons vanilla extract
- 2 1/2 cups all-purpose flour
- 1 teaspoon baking soda
- 1 teaspoon cream of tartar
- 1 1/2 teaspoons pumpkin pie spice
- 1/2 teaspoon salt
- For the coating: 1/4 cup granulated sugar and 1 tablespoon ground cinnamon
Directions
Step 1: Browning the Butter
Place the butter in a medium saucepan over medium heat. Stir constantly as it melts. Continue cooking until the butter begins to foam and brown bits form at the bottom. Once it smells nutty and looks amber-gold, remove it from the heat and let it cool completely until it reaches a soft solid state.
Step 2: Preparing the Pumpkin
Measure your pumpkin puree and place it on a layer of paper towels. Press another paper towel on top to blot out the excess moisture. This is a crucial step to ensure your cookies are chewy and not cakey.
Step 3: Creaming the Fats and Sugars
In a large bowl or stand mixer, beat the solidified brown butter with the granulated sugar and brown sugar until light and fluffy. Add the blotted pumpkin, egg yolk, and vanilla extract, mixing until well combined.
Step 4: Combining Dry Ingredients
In a separate bowl, whisk together the all-purpose flour, baking soda, cream of tartar, pumpkin pie spice, and salt. Gradually add these dry ingredients to the wet mixture, stirring until just combined. Do not overmix.
Step 5: Chilling the Dough
Cover the dough and refrigerate it for at least 30 minutes. This helps the flavors meld and makes the dough easier to handle when rolling into balls.
Step 6: Shaping and Coating
Preheat your oven to 350°F (175°C). In a small bowl, mix the coating sugar and cinnamon. Scoop about 1.5 tablespoons of dough, roll into a ball, and roll thoroughly in the cinnamon-sugar mixture.
Step 7: Baking the Cookies
Place the balls on a parchment-lined baking sheet, spacing them 2 inches apart. Bake for 10 to 12 minutes or until the edges are set but the centers still look slightly soft. Let them cool on the pan for 5 minutes before transferring to a wire rack.
How to Serve Brown Butter Pumpkin Snickerdoodle Cookies Recipe
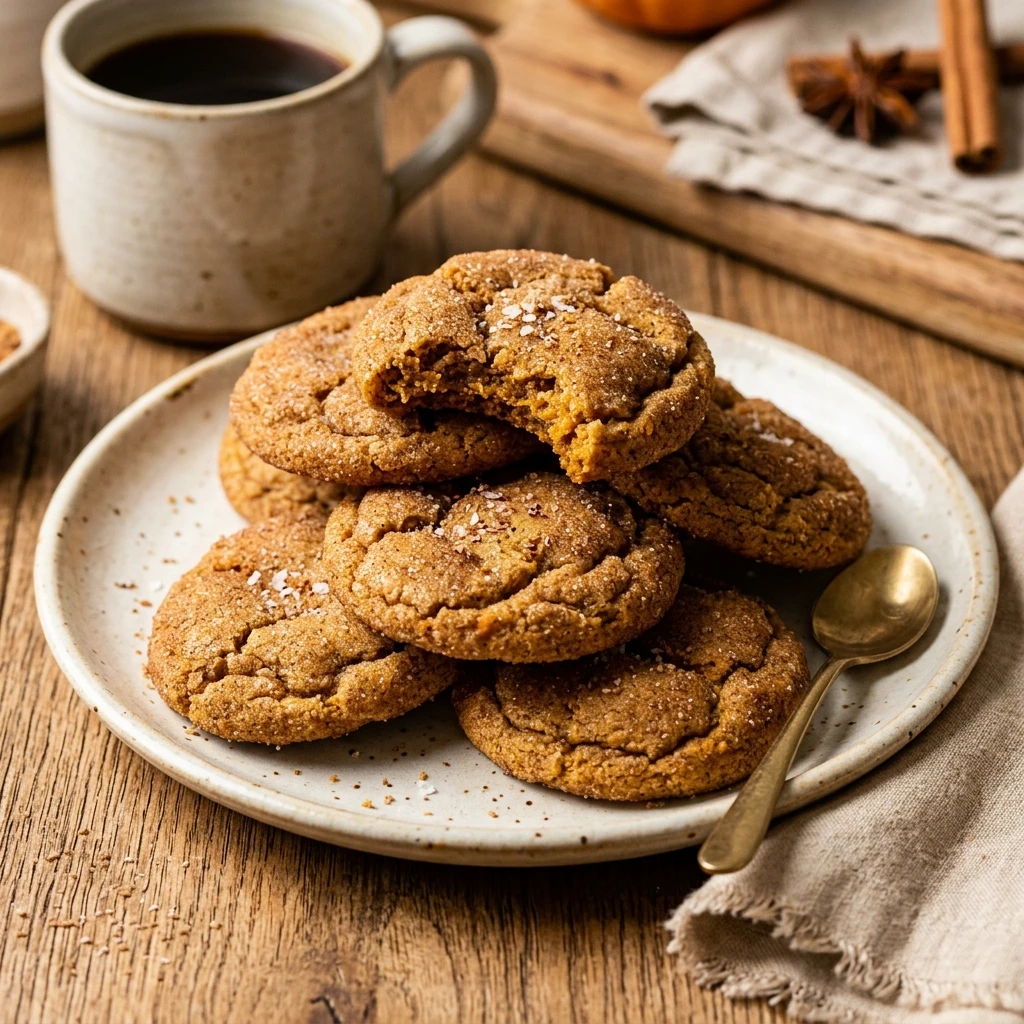
These cookies are best served slightly warm, when the centers are at their softest. They pair beautifully with a cold glass of milk, a hot cup of coffee, or even a spiced chai latte. For a truly decadent dessert, use two cookies to sandwich a scoop of vanilla or butter pecan ice cream.
How to Store Brown Butter Pumpkin Snickerdoodle Cookies Recipe
Store your cookies in an airtight container at room temperature for up to 5 days. To keep them extra soft, you can place a piece of white bread in the container; the cookies will absorb the moisture from the bread. You can also freeze the baked cookies for up to 3 months or freeze the raw dough balls (before rolling in sugar) for a quick bake-on-demand treat.
Expert Tips for Perfect Brown Butter Pumpkin Snickerdoodle Cookies Recipe
To get the best results, always use pure pumpkin puree, not pumpkin pie filling which contains added sugars and spices. When browning the butter, watch it closely as it can go from brown to burnt very quickly. Lastly, ensure your egg yolk is at room temperature so it emulsifies properly with the butter and sugars, creating a smooth dough.
Delicious Variations
If you want to add a bit of texture, try folding in 1/2 cup of white chocolate chips or chopped pecans. For an extra kick of spice, add a pinch of ground ginger or cloves to the cinnamon-sugar coating. You can also drizzle the cooled cookies with a simple maple glaze made of powdered sugar and maple syrup for an added layer of fall flavor.
Frequently Asked Questions
Q: Can I use regular butter instead of brown butter?
Yes, you can use regular softened butter, but you will miss out on the deep, nutty flavor profile that makes this specific recipe so unique.
Q: Why is cream of tartar used in snickerdoodles?
Cream of tartar provides the signature tangy flavor and prevents sugar from crystallizing, which gives the cookies their iconic chewy texture.
Q: Do I really need to blot the pumpkin?
Yes! Pumpkin is very watery. If you don’t blot it, your cookies will turn out more like small cakes or muffins rather than chewy cookies.
Q: How can I tell when the cookies are done?
The edges should be firm and slightly golden, while the centers should look slightly “underbaked.” They will firm up as they cool on the baking sheet.
Q: Can I make the dough ahead of time?
Absolutely. You can keep the dough in the refrigerator for up to 48 hours before rolling and baking.
Conclusion
Brown Butter Pumpkin Snickerdoodle Cookies are the ultimate autumn comfort food. By taking a few extra steps—like browning the butter and blotting the pumpkin—you transform a simple cookie into a gourmet experience. These cookies are sure to become a seasonal favorite in your household, offering a perfect blend of spice, sweetness, and that unmistakable brown butter richness.
Brown Butter Pumpkin Snickerdoodle Cookies Recipe
- Total Time: 37 minutes
Ingredients
- 1 cup (226g) unsalted butter, softened
- 1/2 cup canned pumpkin puree (moisture removed)
- 1 cup granulated sugar
- 1/2 cup packed light brown sugar
- 1 large egg yolk, room temperature
- 1 1/2 teaspoons vanilla extract
- 2 1/2 cups all-purpose flour
- 1 teaspoon baking soda
- 1 teaspoon cream of tartar
- 1 1/2 teaspoons pumpkin pie spice
- 1/2 teaspoon salt
- For the coating: 1/4 cup granulated sugar and 1 tablespoon ground cinnamon
Instructions
- Browning the Butter: Place the butter in a medium saucepan over medium heat. Stir constantly as it melts. Continue cooking until the butter begins to foam and brown bits form at the bottom. Once it smells nutty and looks amber-gold, remove it from the heat and let it cool completely until it reaches a soft solid state.
- Preparing the Pumpkin: Measure your pumpkin puree and place it on a layer of paper towels. Press another paper towel on top to blot out the excess moisture. This is a crucial step to ensure your cookies are chewy and not cakey.
- Creaming the Fats and Sugars: In a large bowl or stand mixer, beat the solidified brown butter with the granulated sugar and brown sugar until light and fluffy. Add the blotted pumpkin, egg yolk, and vanilla extract, mixing until well combined.
- Combining Dry Ingredients: In a separate bowl, whisk together the all-purpose flour, baking soda, cream of tartar, pumpkin pie spice, and salt. Gradually add these dry ingredients to the wet mixture, stirring until just combined. Do not overmix.
- Chilling the Dough: Cover the dough and refrigerate it for at least 30 minutes. This helps the flavors meld and makes the dough easier to handle when rolling into balls.
- Shaping and Coating: Preheat your oven to 350°F (175°C). In a small bowl, mix the coating sugar and cinnamon. Scoop about 1.5 tablespoons of dough, roll into a ball, and roll thoroughly in the cinnamon-sugar mixture.
- Baking the Cookies: Place the balls on a parchment-lined baking sheet, spacing them 2 inches apart. Bake for 10 to 12 minutes or until the edges are set but the centers still look slightly soft. Let them cool on the pan for 5 minutes before transferring to a wire rack.
- Cook Time: 37 minutes
- Diet: Vegetarian