
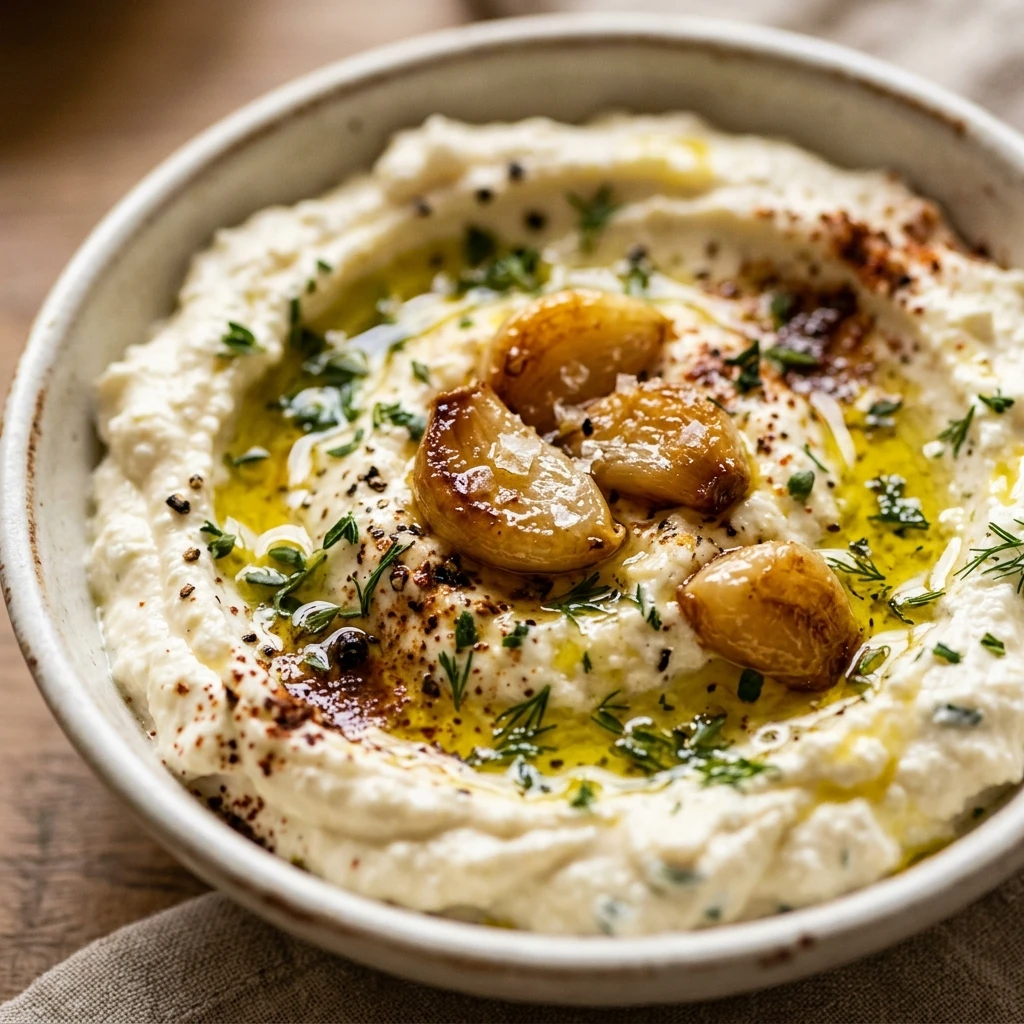

This Whipped Feta Roasted Garlic Dip is a game-changer for your next gathering. It combines the salty tang of feta cheese with the mellow, buttery sweetness of slow-roasted garlic. The result is a creamy, luscious spread that is incredibly easy to make yet tastes like something from a high-end Mediterranean restaurant.
Whether you are hosting a dinner party or just looking for a fancy snack to enjoy at home, this dip hits all the right notes. It is savory, slightly sweet, and has a bright zing from fresh lemon juice. Once you try the homemade version, you will never want to go back to store-bought dips again.
Recipe Information
- Prep Time: 10 minutes
- Cook Time: 40 minutes
- Total Time: 50 minutes
- Servings: 6
- Difficulty Level: Easy
Nutrition Information
- Calories per serving: 185 kcal
- Protein: 7g
- Carbohydrates: 6g
- Fat: 15g
- Fiber: 1g
- Sugar: 2g
- Sodium: 480mg
Why Make This Whipped Feta Roasted Garlic Dip
The main reason to make this recipe is the incredible depth of flavor provided by the roasted garlic. Unlike raw garlic, which can be sharp and overpowering, roasted garlic becomes soft, caramelized, and mild. When blended with salty feta, it creates a balanced profile that appeals to everyone.
Another reason is its versatility. This isn’t just a dip for crackers; it works beautifully as a spread for sandwiches, a topping for grilled chicken, or even a dollop on top of roasted vegetables. Plus, it can be made ahead of time, which makes party planning much less stressful.
How to Make Whipped Feta Roasted Garlic Dip
Creating this dip is a simple two-stage process. First, we transform whole heads of garlic into golden, sweet cloves in the oven. Then, we use a food processor to whip the ingredients into a cloud-like consistency that is perfect for dipping.
Ingredients
- 2 whole heads of garlic
- 8 ounces feta cheese (preferably a block in brine)
- 1/2 cup plain Greek yogurt (full fat recommended)
- 3 tablespoons extra virgin olive oil (plus more for roasting)
- 1 tablespoon fresh lemon juice
- 1 teaspoon honey (optional)
- 1/2 teaspoon crushed red pepper flakes
- 1 tablespoon fresh thyme or oregano leaves
- Salt and black pepper to taste
Directions
Step 1: Roast the Garlic
Preheat your oven to 400°F (200°C). Slice the top off each garlic head to expose the cloves. Place the garlic on a piece of aluminum foil, drizzle with olive oil, and sprinkle with a pinch of salt. Wrap the foil tightly and roast for 35 to 40 minutes until the cloves are soft and golden brown. Let them cool before squeezing the garlic out of the skins.
Step 2: Prepare the Feta Base
Crumble the feta cheese into a food processor. Pulse a few times to break it down into smaller bits. Adding the feta first ensures that the final dip doesn’t have large, unmixed chunks of cheese.
Step 3: Combine and Whip
Add the roasted garlic cloves, Greek yogurt, olive oil, lemon juice, and honey to the food processor. Process on high for 1 to 2 minutes. Stop and scrape down the sides of the bowl as needed. Continue blending until the mixture is completely smooth and airy.
Step 4: Season and Garnish
Taste the dip and add black pepper or additional lemon juice if needed. Feta is naturally salty, so you likely won’t need extra salt. Transfer the dip to a serving bowl. Use a spoon to create a swirl on top, then drizzle with a little more olive oil and sprinkle with red pepper flakes and fresh herbs.
How to Serve Whipped Feta Roasted Garlic Dip
This dip is best served at room temperature to maintain its creamy texture. Surround the bowl with warm pita bread, toasted baguette slices, or sturdy crackers. For a healthier option, use colorful vegetable crudités like cucumber slices, carrot sticks, and bell pepper strips.
How to Store Whipped Feta Roasted Garlic Dip
Store any leftovers in an airtight container in the refrigerator for up to 4 or 5 days. Note that the dip will firm up significantly when cold due to the fats in the cheese and oil. Before serving again, let it sit on the counter for 20 minutes and give it a quick stir to restore its fluffiness.
Expert Tips for Perfect Whipped Feta Roasted Garlic Dip
Always use a block of feta rather than pre-crumbled feta. Pre-crumbled varieties are often coated in anti-caking agents that can prevent the dip from becoming perfectly smooth. Additionally, using full-fat Greek yogurt provides a richer mouthfeel and prevents the dip from becoming too runny.
Delicious Variations
If you want to change things up, try adding a tablespoon of lemon zest for extra brightness. For a smoky version, add half a teaspoon of smoked paprika. You can also mix in chopped Kalamata olives or sun-dried tomatoes at the very end for added texture and a burst of Mediterranean flavor.

Frequently Asked Questions
Q: Can I use cream cheese instead of Greek yogurt?
Yes, you can substitute the yogurt with 4 ounces of softened cream cheese. This will result in a thicker, denser dip that is more like a spread.
Q: Is this dip gluten-free?
Yes, the dip itself is naturally gluten-free. Just ensure you serve it with gluten-free crackers or fresh vegetables.
Q: Can I make the roasted garlic in advance?
Absolutely. You can roast the garlic up to 3 days in advance and keep the cloves in the fridge until you are ready to blend the dip.
Q: How do I make the dip even smoother?
If your dip seems a bit grainy, add a teaspoon of cold water or additional olive oil while the food processor is running. This helps emulsify the mixture further.
Q: Can I freeze whipped feta?
It is not recommended to freeze this dip. The texture of the dairy will change and become grainy or separated once thawed.
Conclusion
This Whipped Feta Roasted Garlic Dip is the ultimate appetizer for any occasion. It is sophisticated enough for a party but simple enough for a weekday snack. With its perfect balance of salty, sweet, and tangy flavors, it is guaranteed to be a hit with your family and friends. Give it a try and watch it disappear!

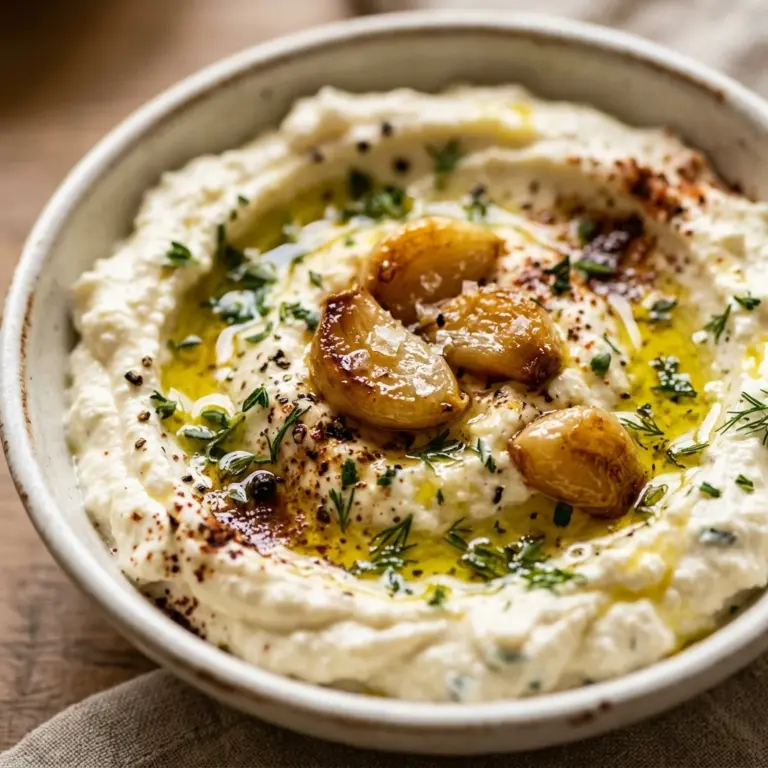
Whipped Feta Roasted Garlic Dip
- Total Time: 50 minutes
Ingredients
- 2 whole heads of garlic
- 8 ounces feta cheese (preferably a block in brine)
- 1/2 cup plain Greek yogurt (full fat recommended)
- 3 tablespoons extra virgin olive oil (plus more for roasting)
- 1 tablespoon fresh lemon juice
- 1 teaspoon honey (optional)
- 1/2 teaspoon crushed red pepper flakes
- 1 tablespoon fresh thyme or oregano leaves
- Salt and black pepper to taste
Instructions
- Preheat your oven to 400°F (200°C). Slice the top off each garlic head to expose the cloves. Place the garlic on a piece of aluminum foil, drizzle with olive oil, and sprinkle with a pinch of salt. Wrap the foil tightly and roast for 35 to 40 minutes until the cloves are soft and golden brown. Let them cool before squeezing the garlic out of the skins.
- Crumble the feta cheese into a food processor. Pulse a few times to break it down into smaller bits. Adding the feta first ensures that the final dip doesn’t have large, unmixed chunks of cheese.
- Add the roasted garlic cloves, Greek yogurt, olive oil, lemon juice, and honey to the food processor. Process on high for 1 to 2 minutes. Stop and scrape down the sides of the bowl as needed. Continue blending until the mixture is completely smooth and airy.
- Taste the dip and add black pepper or additional lemon juice if needed. Feta is naturally salty, so you likely won’t need extra salt. Transfer the dip to a serving bowl. Use a spoon to create a swirl on top, then drizzle with a little more olive oil and sprinkle with red pepper flakes and fresh herbs.
- Cook Time: 50 minutes
- Diet: Gluten-Free